Clare Smith
all prices are in New Zealand Dollars.
Summary
1-day classes
- Quilt Doodling (Machine Quilting)
- Boro and sashiko placemats
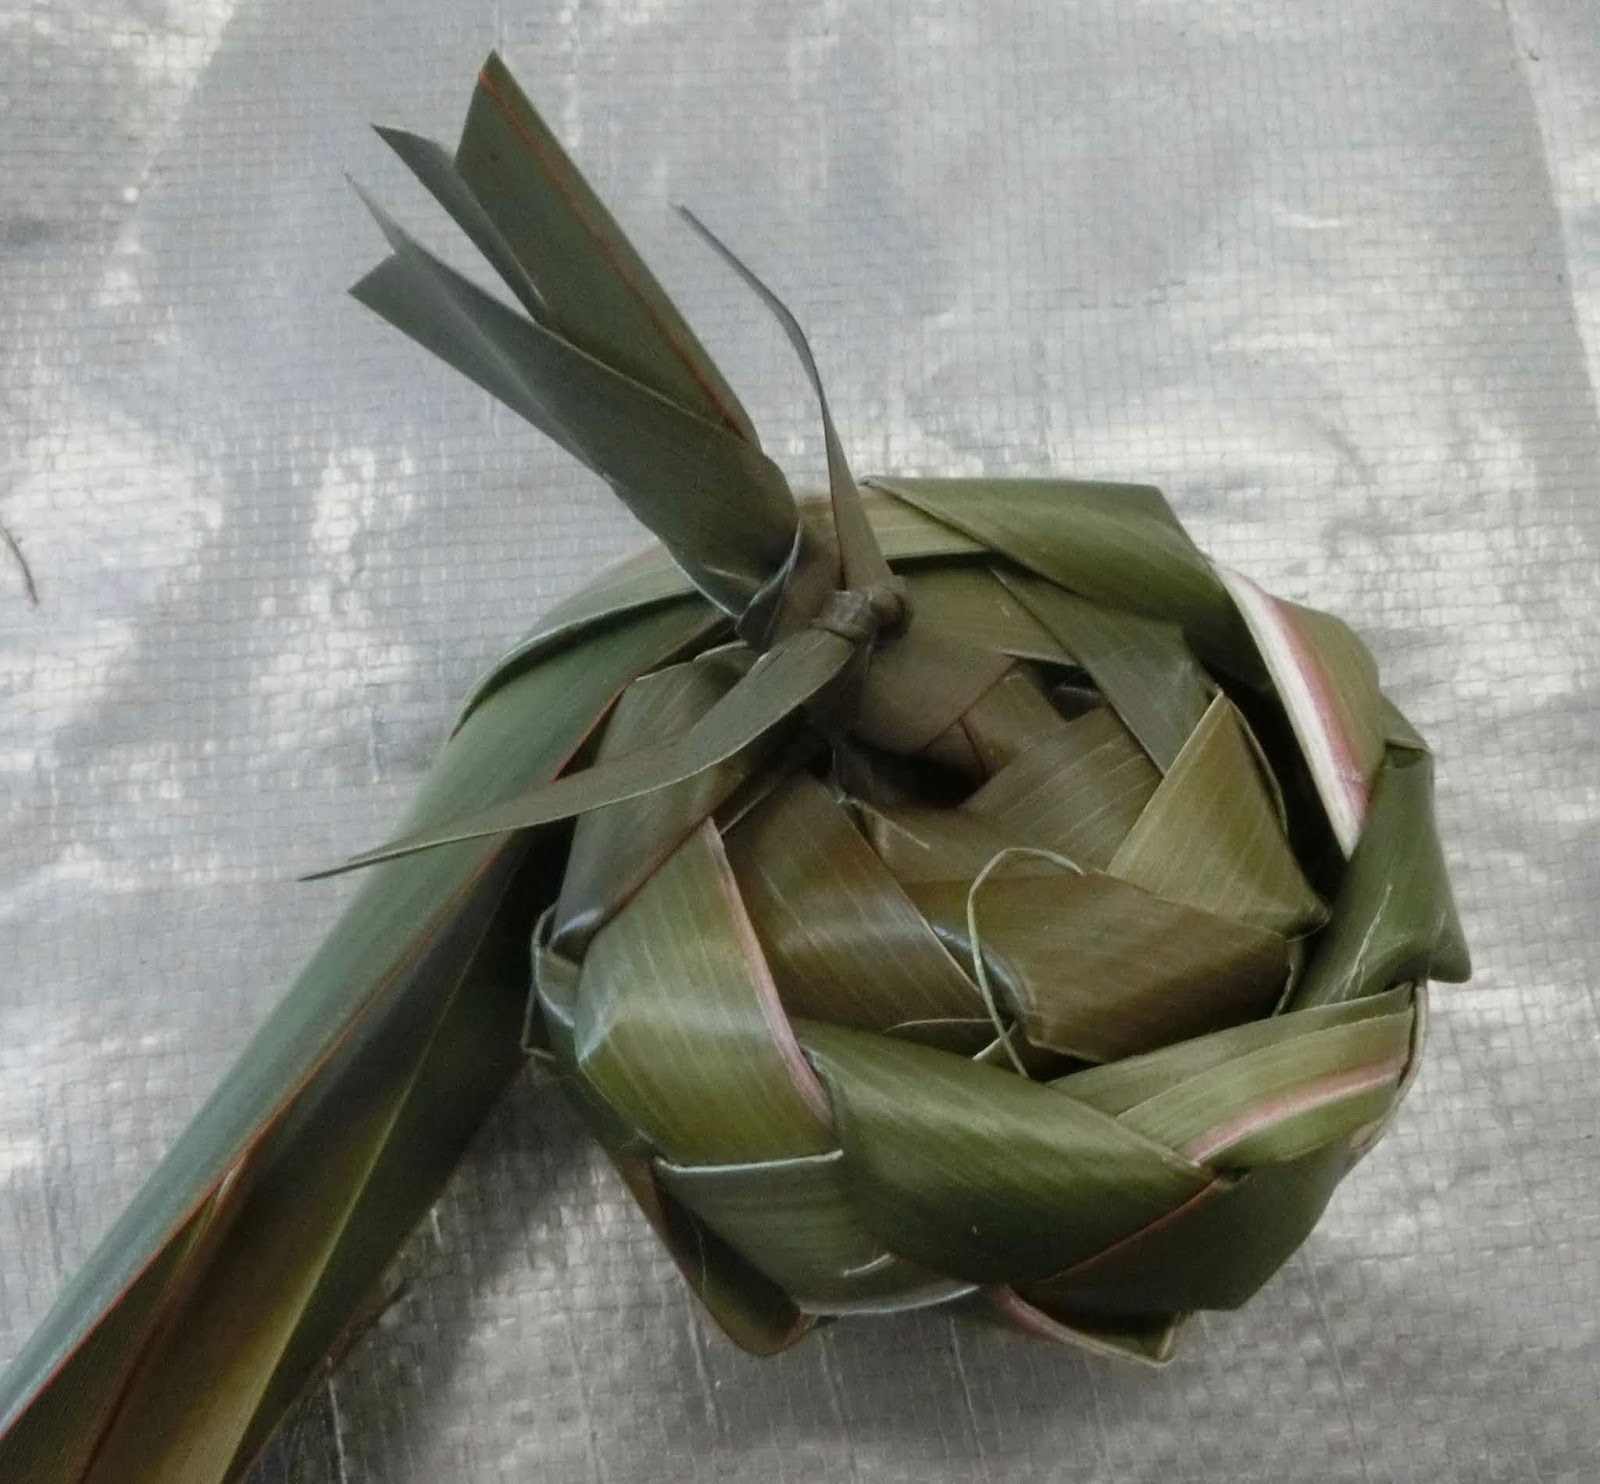
- Cabbage Trees
- The Doily Quilt
- Fabric painting and Printing
- Fabric dyeing (3 classes to choose from)
- Hand sewn books
- The Modern Wagga
- Beginners Screenprinting on Fabric
- Pojagi (Korean inspired piecing)
2-day classes
- Spiky trees and plants
- Next step
- Putting it into Perspective
Combined classes (2 to 5 days)
- Indigo dyeing combined with Boro/sashiko
- Fabric printing and painting combined with pojagi
- Dyeing classes combined with Modern Wagga
- (any other combination you can think of)
One day classes
Quilt-doodling and colouring-in for machine quilters
Spend a day honing your machine quilting skills by doodling using the sewing machine. When you find yourself getting tense, relax, take time out and colour in your design using fabric pens.
Boro and sashiko Quilts or Placemats
Use some of your collection of Japanese fabrics or other scraps to make simple placemats then embellish them with sashiko stitching. These can be very organised or very random, depending on your preference (see photos)
The Doily Quilt
Have you got a cupboard full of your granny’s doilies, placemats and tablecloths?
Use precious family linens or op-shop finds to make a quilt for the home, the bach or as a wall hanging. This quilt can be seen on the front cover of New Zealand Quilter issue 77.
No Materials fee
A Modern Wagga
Making a quilt was historically about recycling.In this class , make a ‘wagga’ or ‘utility’ quilt. Clothes your kids have grown out of? Things that used to belong to your granny , old doilies, aprons, teatowels?
Use recycled clothing or linens to make a quilt for the home, the bach or as a wall hanging.
No Materials fee
Fabric Painting and Printing
Paint and monoprint on fabric using water based inks and resists (similar to batik).
This technique class will also cover printing with found objects such as fruit and leaves as well as making print-blocks from carved erasers and lino blocks.
Materials fee approx. $20 (covers inks, resist, lino blocks)
Dye Classes
Three classes are available
- Dyeing cotton
- Dyeing with indigo
- Dyeing wool and silk
1. Dyeing cotton
Learn how to dye fabric using Procion dyes. Methods include scrunch dyeing, basic shibori and tie-dye, multi-coloured dyeing and dyeing in plastic bags. Students should end up with approx. 6 metres of dyed fabric.
Materials fee approx. $25 (covers dyes)
2. Dyeing with Indigo on cotton, silk or wool.
Indigo dyeing often seems quite complicated and can include toxic chemicals; my new method uses a squashed banana instead of the smelly chemicals!
3. Dyeing wool and silk
Learn how to dye wool fabric, felt and knitting wool using wool dyes and natural dyes. Multi-coloured dyeing, shibori and dye painting will be covered.
Hand sewn Books (Japanese Bookbinding)
Learn how to make basic hand sewn books. These can be used as note or sketchbooks, photo albums, quilt record books or diaries. You can bring little pieces of embroidery or quilt blocks to set into the front of the book and recycle old book covers to make new books.
Materials fee NZ$20
Beginners Screenprinting
Learn the basics of screenprinting to create unique fabrics suitable for quilting or embroidery. Use found objects and hand cut stencils to create textured backgrounds. Learn how to design repeat patterns and experiment with pre-prepared photographic silkscreen designs.
Materials fee $20
Pojagi patchwork window or wall hanging
Pojagi is a Korean form of patchwork using scraps of transparent or semi transparent fabrics such as cotton organdie or silk organza. It looks fabulous hanging in a window where the seams show up against the light, or hung away from a wall so a light can form shadows on the wall behind. Try improvised piecing or use simple patchwork block patterns of your own choice.
Organised version
Free –style version
Two-day classes
Spiky Trees and Plants quilt.
Learn how to fuse and sew a quilt depicting a Palm, Yukka, fern, aloe, cactus or thorn tree. Some fast workers even manage to quilt their picture on the second day.
Materials charge approx NZ$10 (covers inks to paint a sky fabric for their background)
The Next Step
Are you ready to take the step from traditional quilting into something unique but don’t know where to start? Are you scared of the word ‘Design’ or feel you can’t draw? Learn how to make an art quilt using an art-school design trick. No two quilts the same! Use fusible webbing to put it together and quilt it on the second day.
NB The class samples are not what you will make in class, they just reflect the technique of putting the quilt together. Your quilt will be your original design.
Materials fee - $5 (OHP sheets)
Putting it into PERSPECTIVE
Learn how to draw in perspective, how to show the sides of buildings and how to make things come forward or recede into the picture. Everything from landscapes with buildings, beach huts, country cottages, letterboxes or sky scrapers.
Materials fee $5 (photocopying and OHP sheets)